
Finding a suitable frame from a Brussels supplier during lock-down had been problematic because shops and suppliers were closed. With the timber merchants and building suppliers finally opening it was possible to buy wood and so I decided to make the frame myself and gesso, gild and paint to exactly the scale and proportions I wanted and in a 17th century style to match the restored painting of the Penitent Magdalene. I made considerable research into the plethora of styles and designs from this period and eventually found a good basic model on the Paul Mitchell Antique and Handmade Replica Frames website.
This 17th century Italian cassetta frame illustrated below and in the link seemed to be the best design to fit the painting and also one I might be able to make myself without too much trouble. It has a flat black frieze between gilded moldings and with gilded corner and centre arabesque motifs in a sgraffito technique. This is gilded underneath the black paint and which is then scraped off to reveal the design but could also be applied on top of the black paint by using an oil gilding technique.
 This fascinating series of videos from the National Gallery in London recording the different stages in the cleaning and conservation of Artemesia Gentileschi's self Portrait as Saint Catherine of Alexandria provided me with an excellent example of how to match a picture to a period frame in order to protect and enhance its appearance. It also was framed in a 17th century reverse cassetta frame which featured another typical style with heavier moldings on the inside of the frieze.
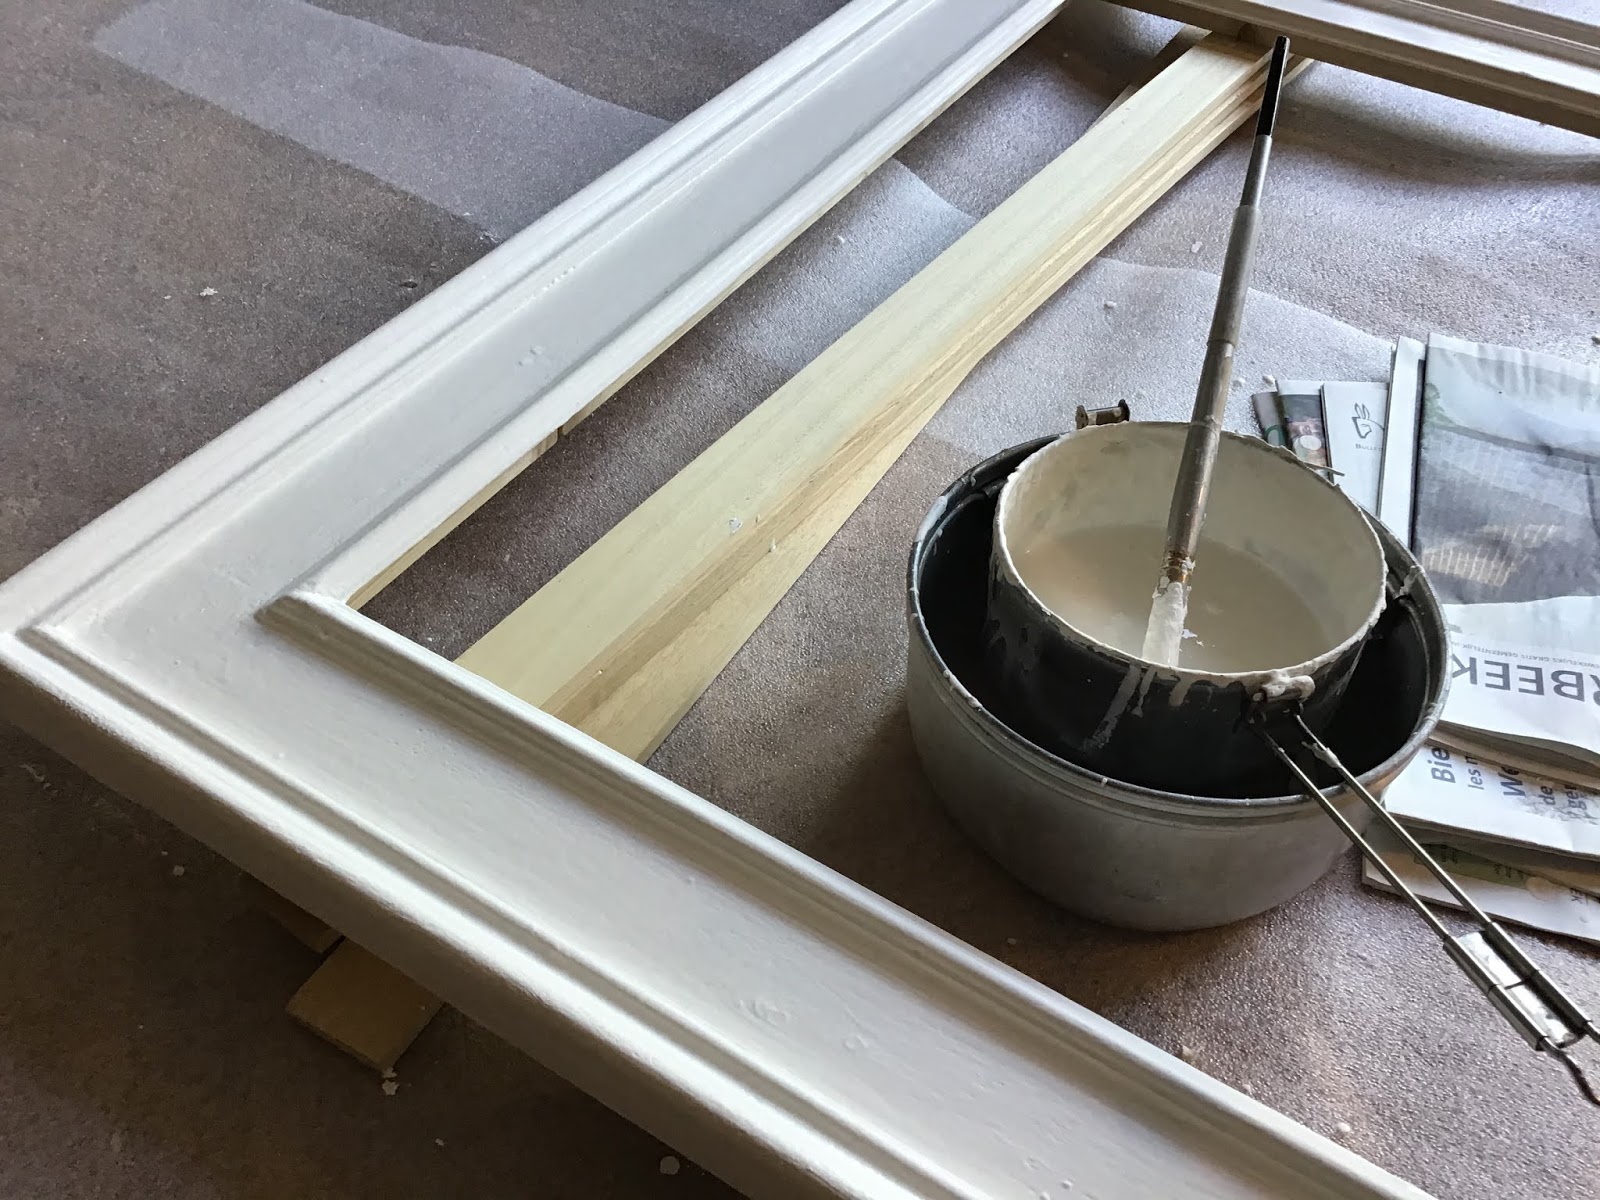
Some basic skills in carpentry involving a saw, clamp, chisel and file and some small tacks were needed to measure, cut and align and stick the various elements together securely using animal glue melted and heated in a Bain-Marie on the stove.

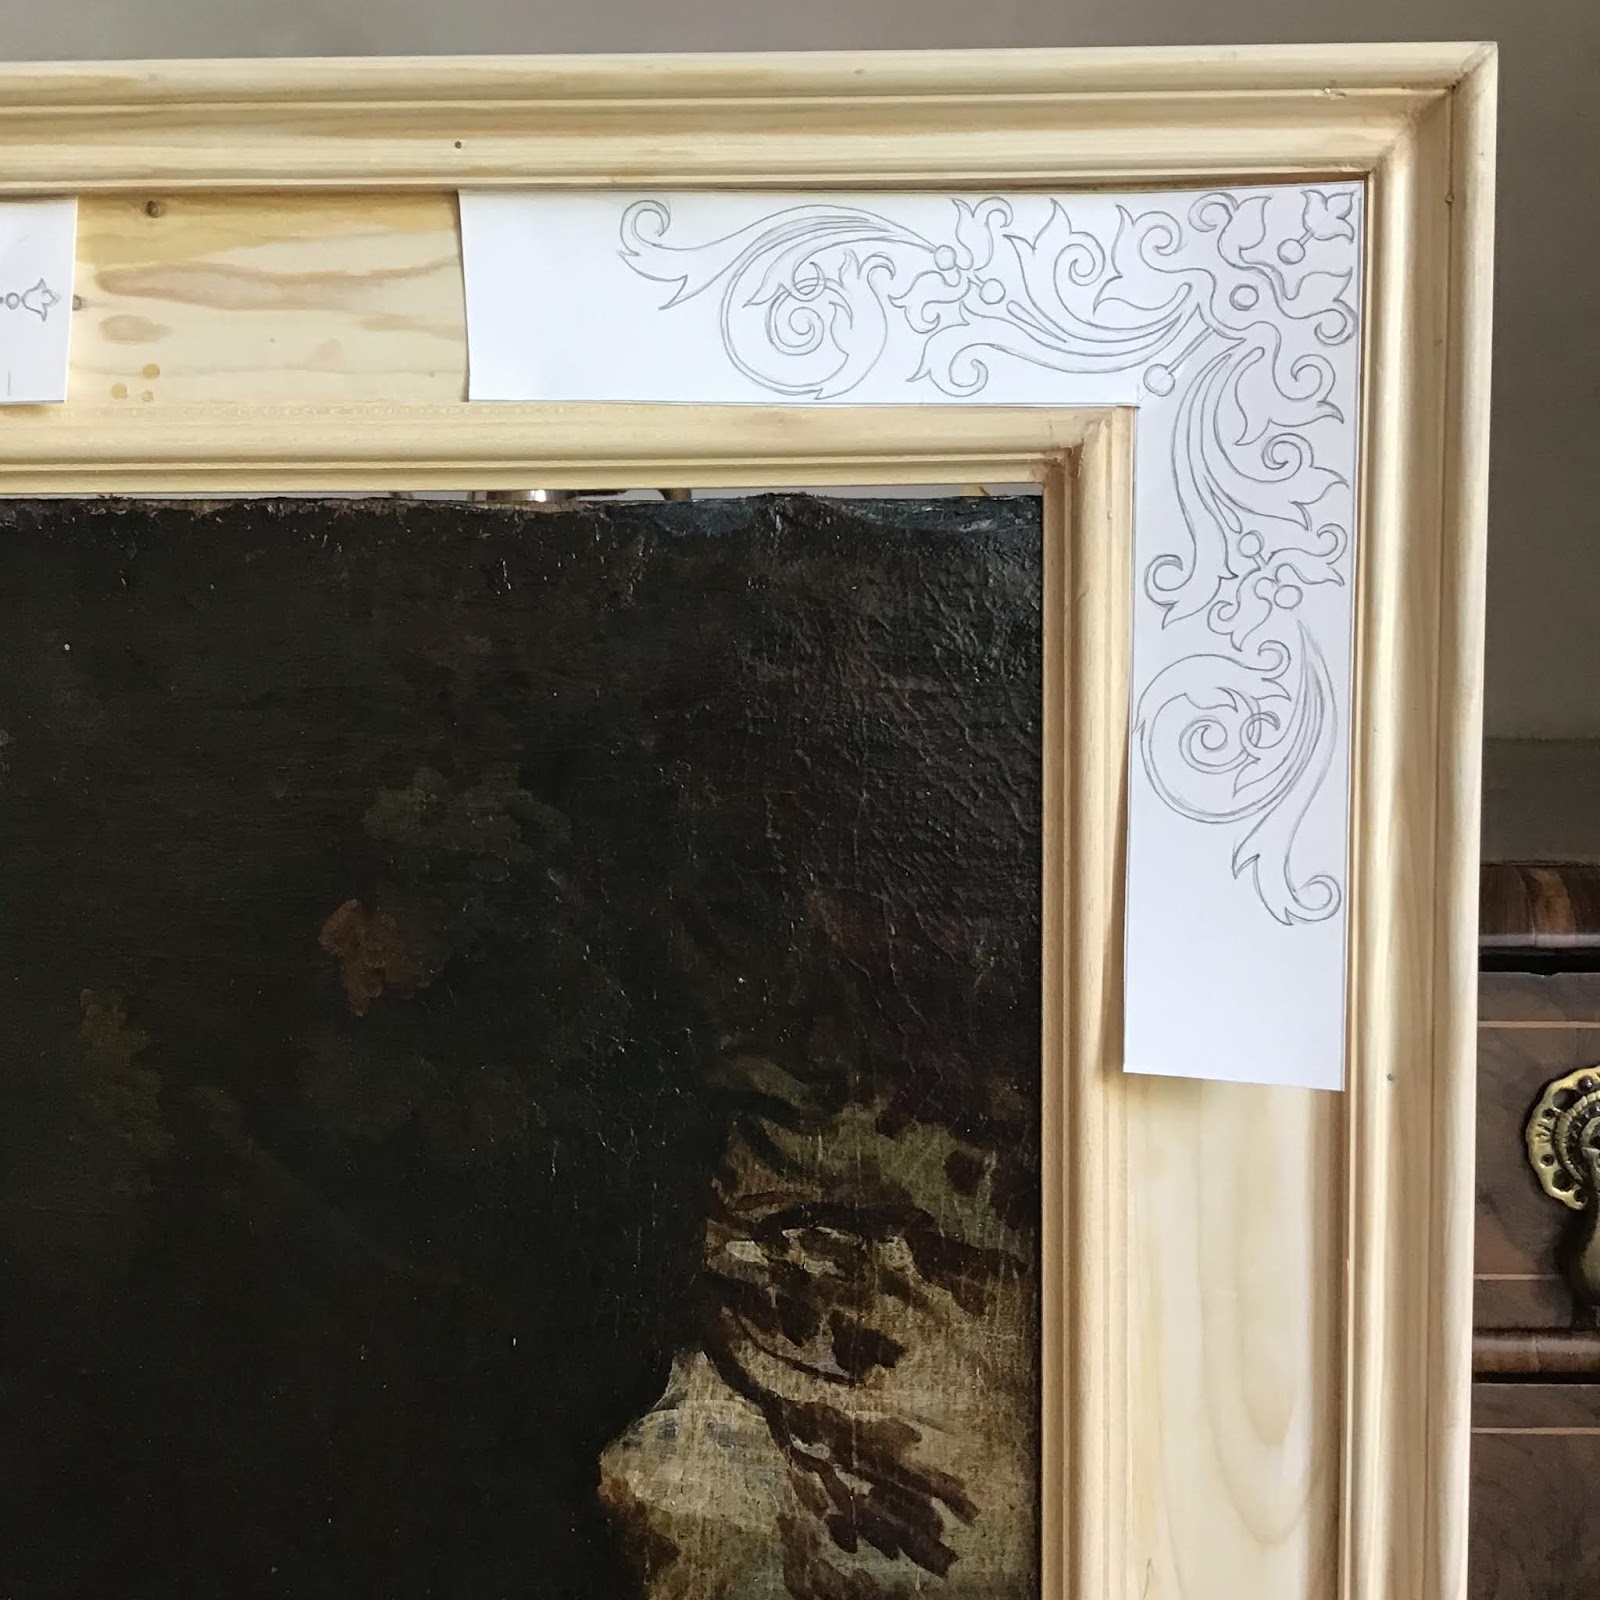
I worked out the designs for the corner and center arabesque motifs based on the antique example I had chosen so they would fit neatly into the frieze the frame.

...... and then I carefully filled and sanded any holes or gaps to make the surfaces even and smooth ready for the first layers of size and gesso.


I then transferred the designs onto the 'gilding' using the cut out template and painted over the surplus 'gilded' area with several layers of black Indian ink to build up a kind of satin lacquered effect.


The final effect was rather too brash and shiny so I mixed some power pigment of raw umber with a shellac mixture and painted several coats onto the surface to give it an aged patina that would match the painting better.

After adding a patina gilding and giving the painting a final spray of synthetic varnish to protect it and carefully mounting it into the frame it was ready. The whole project has taken about a year.

The final stage was to transfer the framed painting to its new home and to enjoy contemplating it.